To go directly to blog posts regarding the interior construction:
http://mimijane.ca/blog-posts-regarding-the-interior
Conditions to metal boat interior construction
Building the interior of a wood boat, fiberglass boat or metal boat takes different approaches. The particularities of building the accommodations of a steel boat are that not only you can’t screw into the metal but its also best to not attach directly to the metal.
As it was said on the insulation page, condensation is the battle of a metal boat; therefore we need to avoid any “thermo-bridge” (thermal conductor going from cooler to warmer environment)
A bolt going through a rib and sticking up in the ambient air would be colder then the ambient air and cause condensation (like a cold glass of cider on a hot summer day).
Fasteners withing the insulation layers is not as much of an issue (not bridging to from cold to ambient air) but I also wanted to avoid having to drill and bolt through steel; its a hassle.
T frames are a little more complicated to deal with then flat frames as you cant just a attach a piece of wood on the side of the frame.
I wanted to limit my need of forward thinking regarding the construction of the interior accommodations, hence not relying of strategically positioned structures to attach the interior elements. I well know that what ever plan I make, it will change (or at least I want the freedom to have plans change) over the building period.
So, I didn’t want to use fasteners (or as little as possible) and I didn’t want to rely on the position of my tie down wood members.
It’s from those parameters that I came up with a solution which I have never seen used (it may be done, but never seen heard or read of) but that I am very confident will work really well.
The solution is to have an interior plywood shell to which I can fasten the accommodations infrastructures and to rely on adhesives to secure that “interior shell”
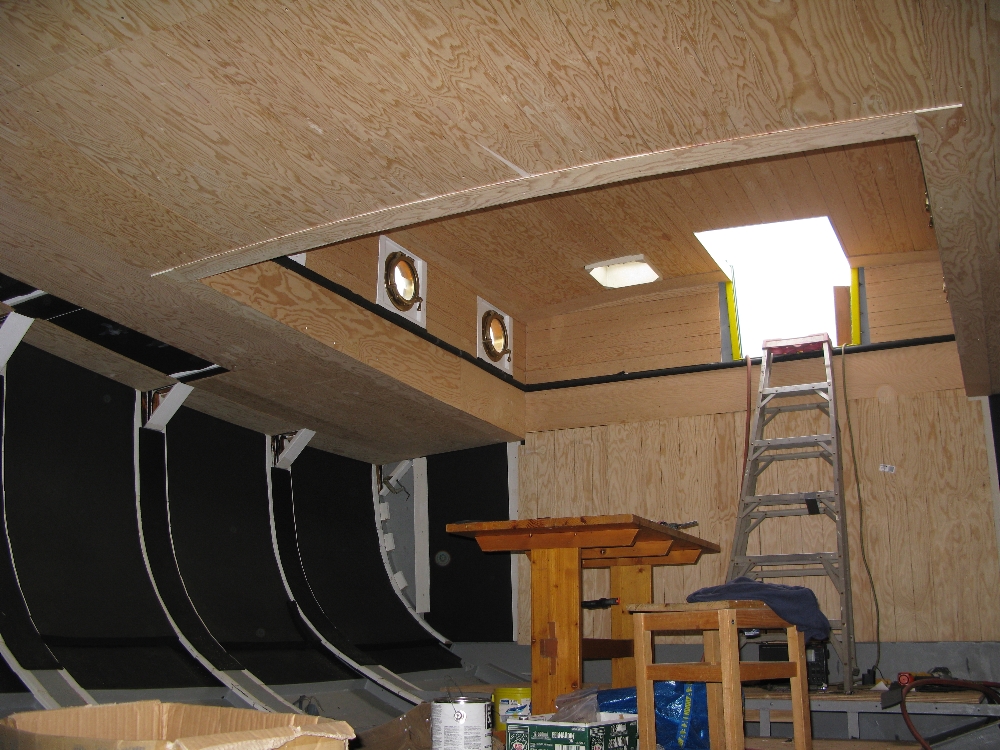
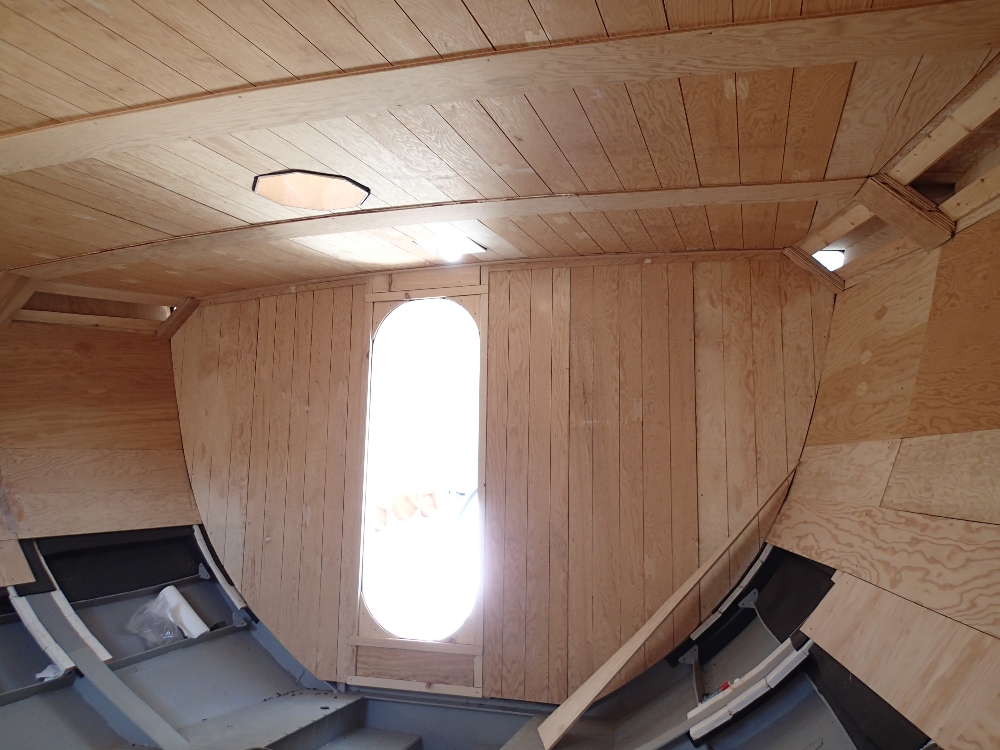
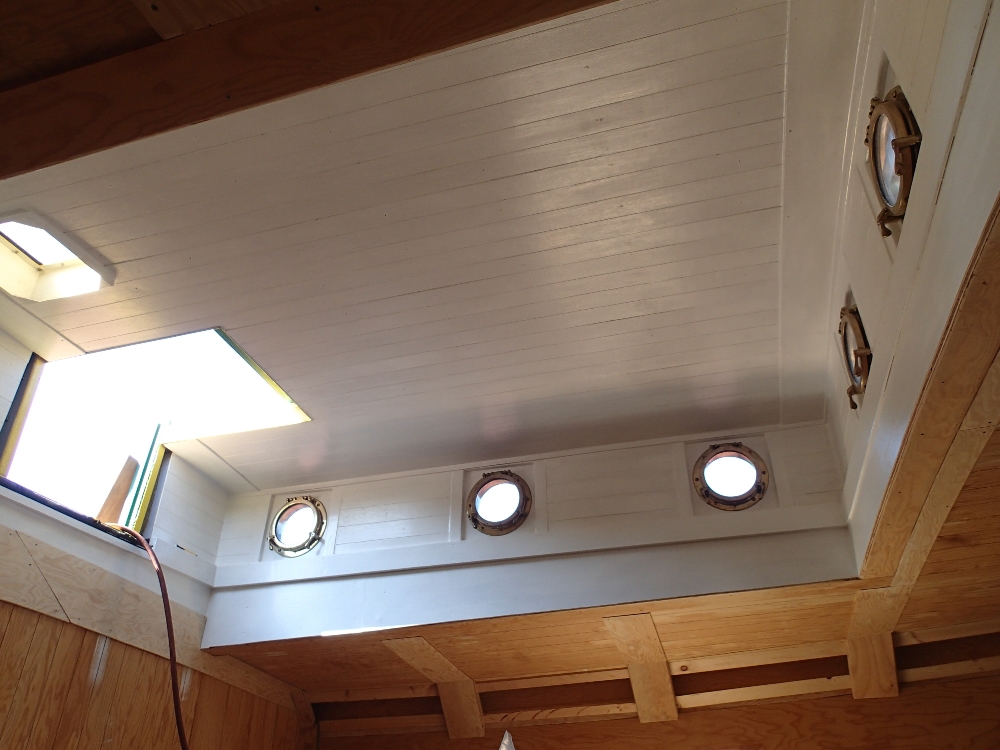
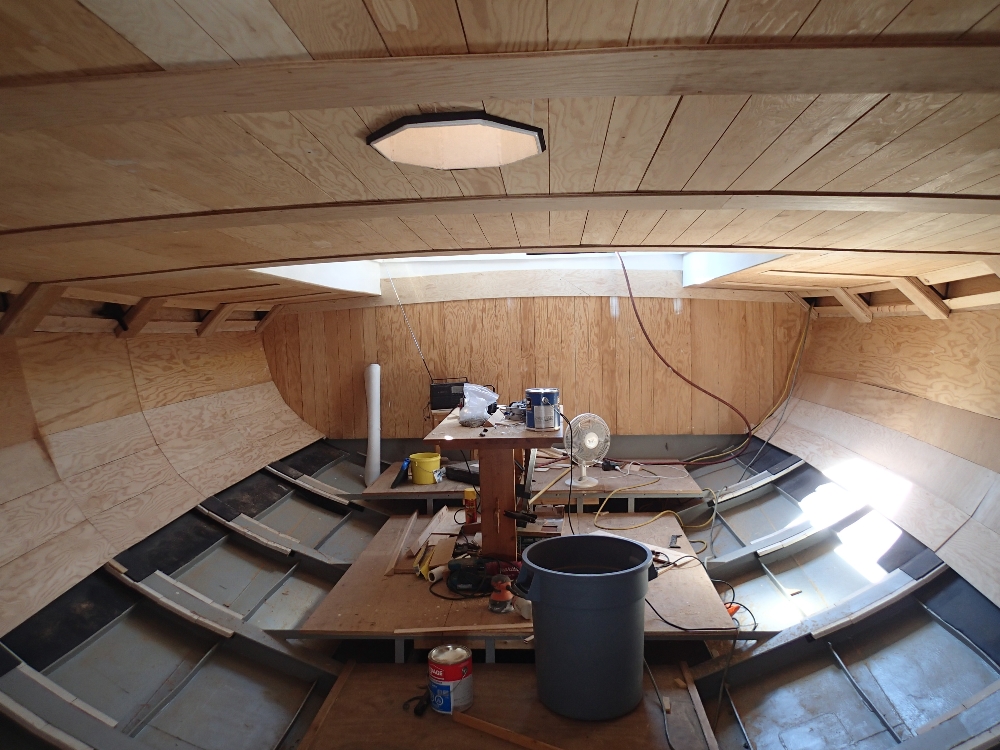
The interior shell is a layer of plywood over all of the frames and insulation. It is the equivalent of the interior wall surface in our houses.
With all the seems sealed, my “interior shell” could also act as a vapor barrier between the interior ambient air and the cold hull (in case the 4 inch insulation glued to the hull wasn’t enough 😛 ).
I set myself one other condition to the construction of my interior. Like the rest of the boat, and even more so then on deck, I want it to feel like a wooden boat.
Building the interior shell
The concept is there but then the question was how to attach the plywood shell to the steel structure? (while respecting the no fasteners through the steel frame constraint)

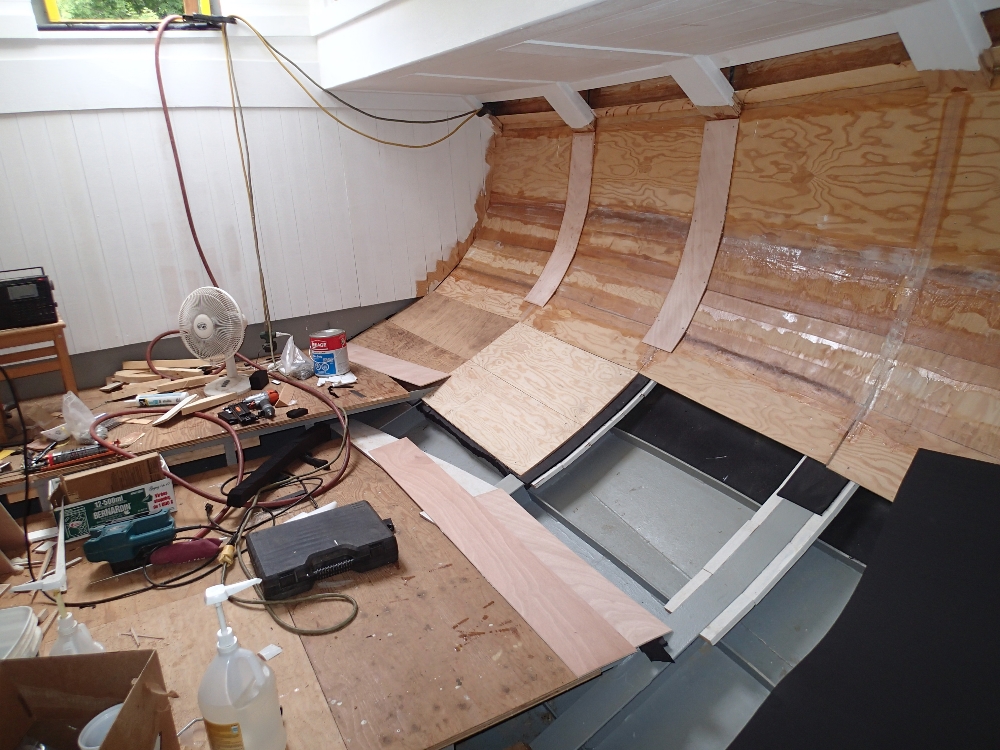
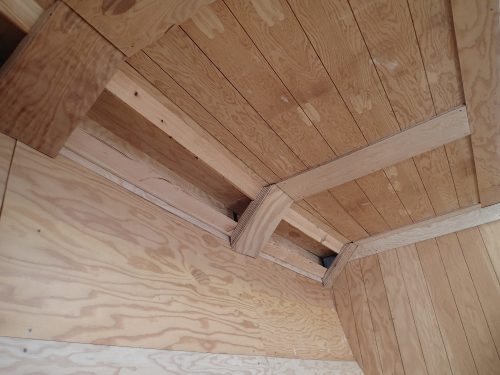
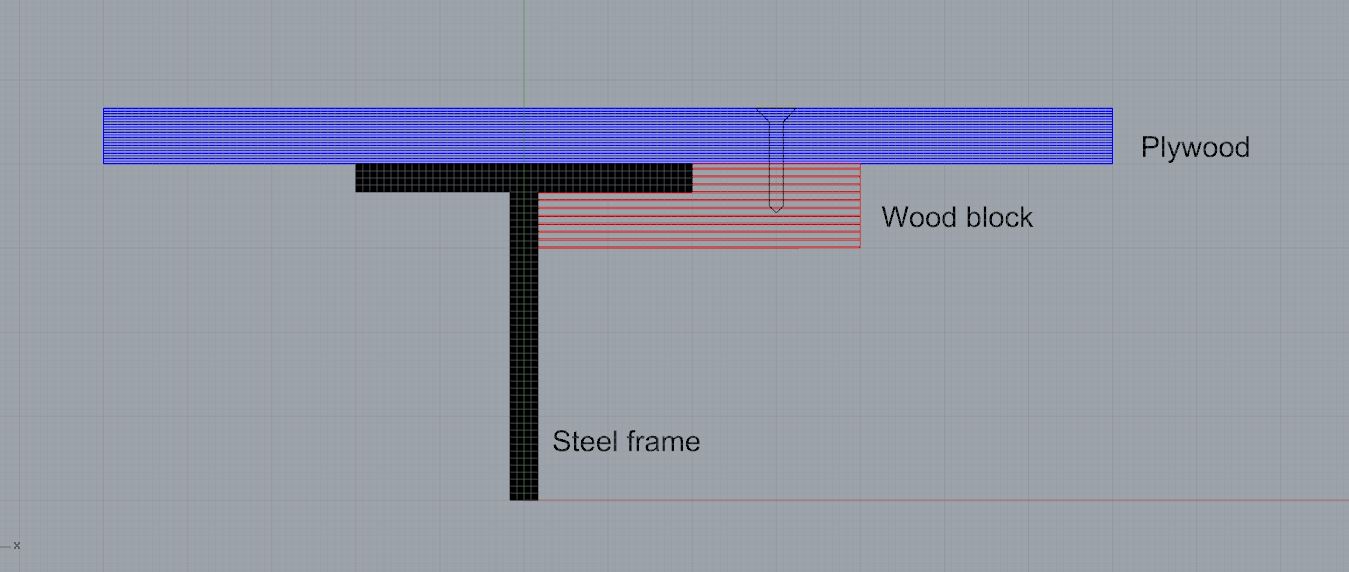
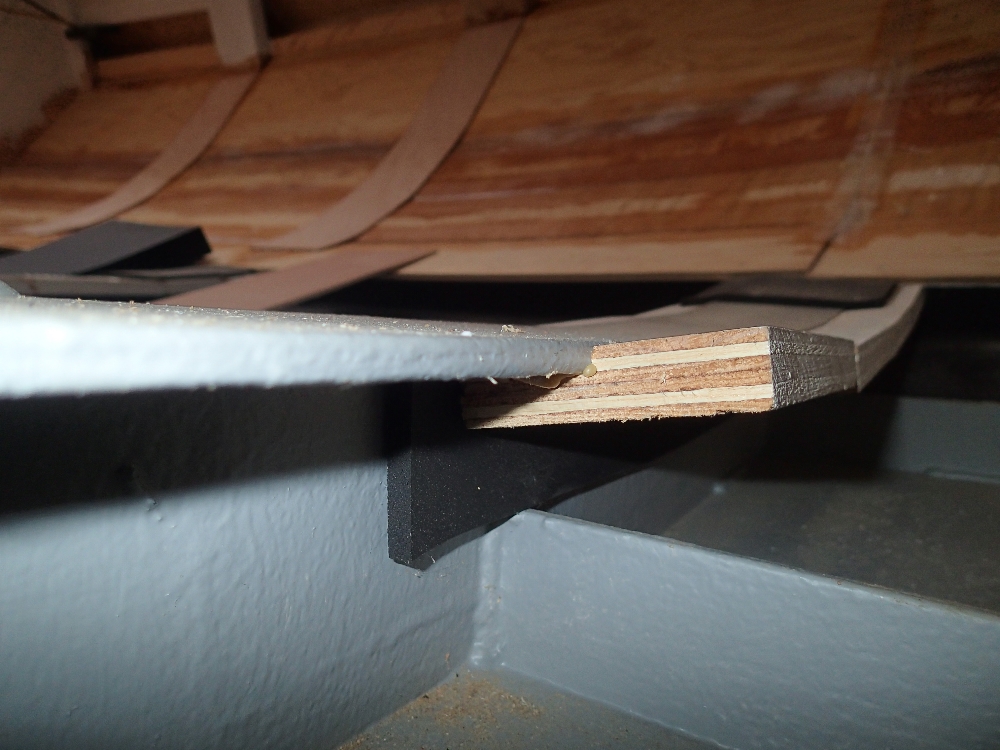
I used wood blocks which I glued under the rib flange to screw the shell too. The beauty with this is that ultimately we dont rely on the adhesive, glue was only used to maintain the blocks while I screwed into them. The assembly end up self clamped to the rib flange.
I covered the top of the flanges with 1/4 armacell for some insulation between the plywood and the rib flange as well as leaving no room for air (and moisture).
Here’s a few pics clarify all those words.

The strip of plywood under the rib’s flange is glued with polyurethane, but the stability of the whole interior structures wont rely so much on the glue. The top of the flanges is covered with a 1/4 inch band of armacell. Holding the plywood strips while gluing


The blocks under the webs are visible in white All insulated surfaces are covered All visible surfaces is grooved plywood to give an illusion of planks. The shell (as the insulation) stops about 2ft under the waterline