To go directly to Blog posts regarding Rig and Sails:
http://mimijane.ca/blog-posts-sailing-and-rigging
The Main Mast
The 54 feet mast is being laminated from planks no longer then 16 ft each. To make up the length, the end of the planks are scarfed and joined together. Then final diameter is 11 inches at the greatest. We are building up the mast one plank at the time, each scarfed plank added at the end of the previous to build up the long beam which will later be rounded and tapered.
We use a clamp every foot to maintain an even pressure between the planks while the epoxy cures. Packing tape and/or wax paper prevents the clamps from sticking to the mast.
The first spread of adhesive is clear epoxy to wet all the surfaces, then we add thickened epoxy which will fill all voids. We have between 40 and 60 minutes of working time for each mix of epoxy, which is a about the time we need to get the glue spread and all the clamps set on a 16 ft length.
Between, taking the previous clamps off, preparing our clamps for the day and getting the next boards glued, there are a few hours of coordinated work. Laminating the whole mast will take a few weeks to complete.
After the 11.25 inch x 11.25 inch beam is laminated, the top 15 feet and the lower 7 feet will be tapered.
The first step into rounding the beam is to make it into an octagon, then an hexadecagon… it will already start to look round. A lot of sanding will finish the work.
Enjoy the photos for more detail on how our mast is being built.
The Lumber
Sitka spruce or Douglas fir may be more popular wood to build spars but Eastern white pine is more readily available for us and still a perfectly good wood for the application, it’s what we are building our spars with. Ideally and mostly if we were building hollow masts we would want perfectly clear lumber (select). But that comes at a cost and is not as essential for solid, laminate spars.
We came accross http://www.whitepinelumber.ca which offered to put aside the best of there grade #1/#2 lumber for us which turned out to be gorgeous quality white pine.

White pine for our masts and spars
The Setup
Saw horses
To build a strait mast, it needs good support. We need a lot of saw horses. Mark took a few days to build more then I bothered counting… and all are being used. Basically, there can’t be too many saw horses.

Saw horses

Many saw horses
The mast clamps
The largest mast we have built (before the ones for this boat) was 8 inches diameter and our clamp rods needed to be extended for the larger 11 in mast. By using scavenged lumber and with the low cost of steel rod, the most expensive part of the clamps is the nuts and bolts. We are planning on 80 clamps, which will be more then enough as we plan on using 1 clamp per feet of laminated boards.

Threaded rods for the 80 clamps

Clamps

The pile of many mast clamps
The scarfing Jig
The jig is used to make the exact same scarf at the end of each boards. We made a special shoe for our planer so it slides down and across the jig.

Scarfing jig
A building site
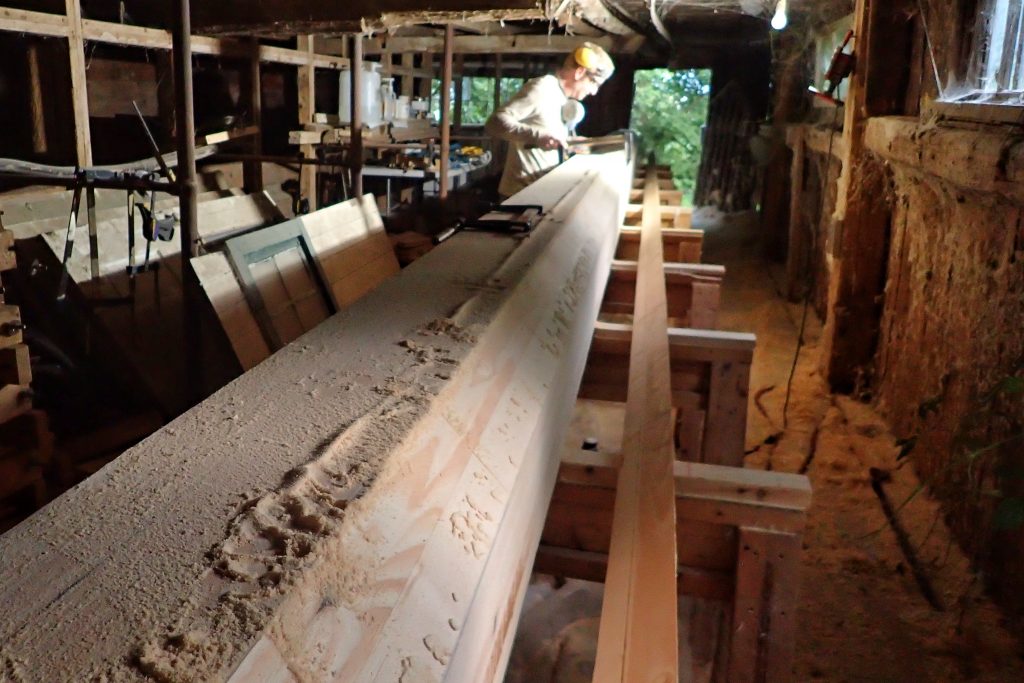
Our workshop is 30ft long, too short for a 54 ft mast. We did want to build indoors though so we could build the mast progressively without fighting the elements. Luckily we a have a very nice neighbor with an old empty barn who welcomed our project for the summer.
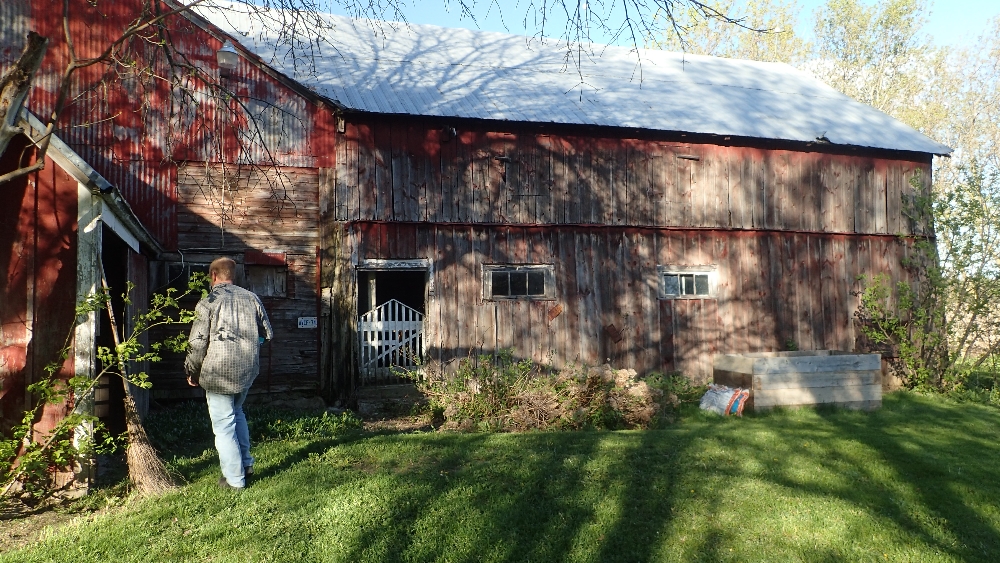
The “mast building barn”
The mast building “bench”
It’s next to impossible to build strait and flat without a level and stable surface. Mark set up saw horse using our rotating laser level assuring all the upper surfaces were precisely on the same plane by shimming the feet and adding strapping to the top edge. The saw horses, positioned 3 feet apart, were then tied together along the feet so they would not move during the build.
The laser level was then used to mark a strait edge on the whole length of the “bench”. The initial 50ft board is a “wet noodle” and if not carefully positioned, could hold a fairly important bow.

Leveling and and marking a straight edge

All set to start laminating
Starting to build
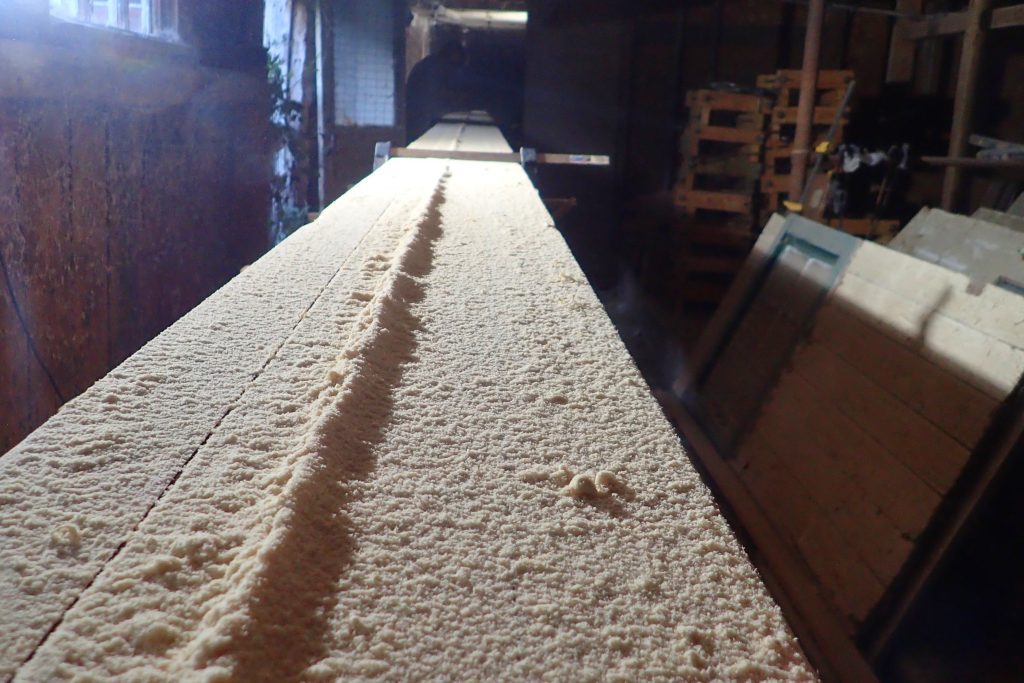
Scarfing
The mast is 55ft long. It is impossible to purchase planks that long so we must “piece up” multiple planks to make the length. Each plank joint is a 12 to 1 scarf.
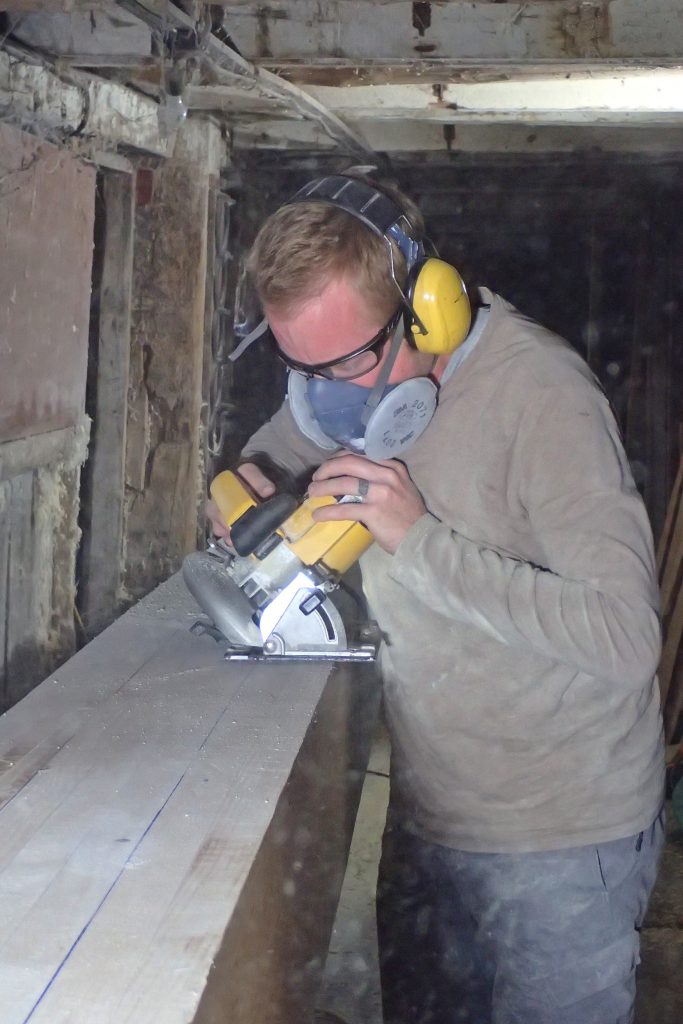
The scarfs are cut on a jig with an electric planer for which we adapted a guiding shoe.

Using the jig

Sanding

1/12 ready to glue scarf

Clean scarfed joint
Clamping
We used a clamp a approximately every foot (30cm)…. that’s a lot of clamps.
We found we could handle about 30 ft of gluing and clamping per pot life of epoxy, so approximately 30 clamps to tighten every go.
As we worked one layer at the time and there are 8 layers, most of the mast building time was spent prepping clamps, tightening clamps and untightening clamps.


Last plank glued in
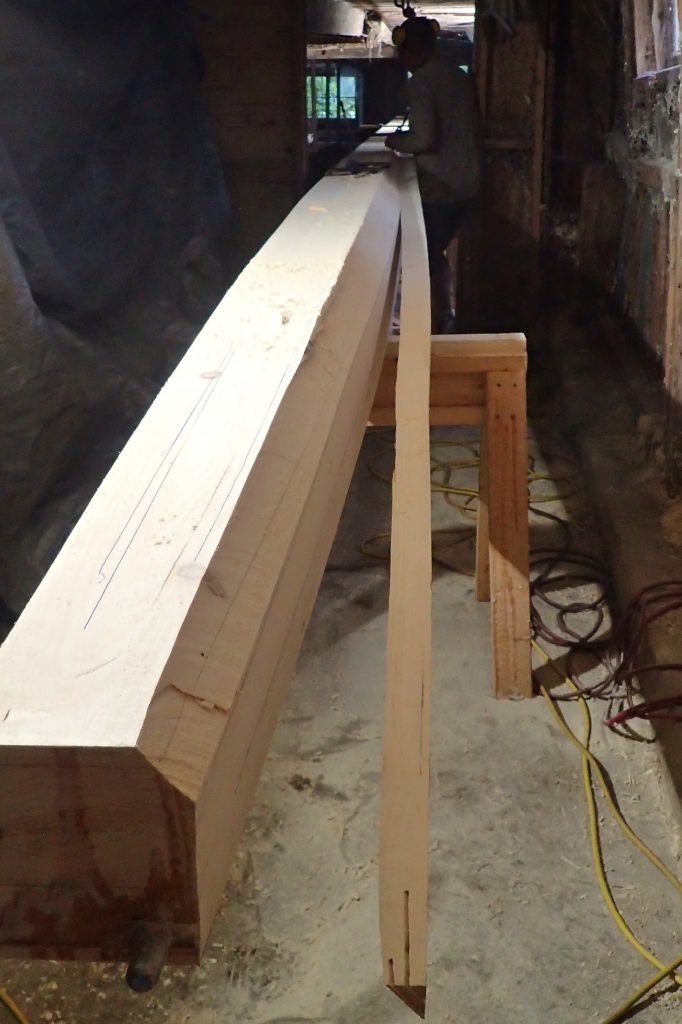
Cutting the tapers
The tapers are not straight but elliptic. Using a table of offset we traced the tapers on the beam.
The challenge with tapering our beam was to cut through 11.25inch of wood. We debated which tool to use; handsaw, skillsaw, reciprocal saw…? It end up being the chain saw. Off course, the cut was not clean and Mark left enough material to tidy it with the planer to the line.


Pivoting the Mast
It’s a heavy beam, and it had to be rotated multiple times. Not a negligible chore.

Rotating

Using a bottle jack to rotate the beam

Blocs to secure the rotating beem

Handle to help the last flip

Shuffling the mast to the side
An octagon next: cutting the corners
How do you make a square beam round? Cut the corners, and cut them again…. and again…. and again…
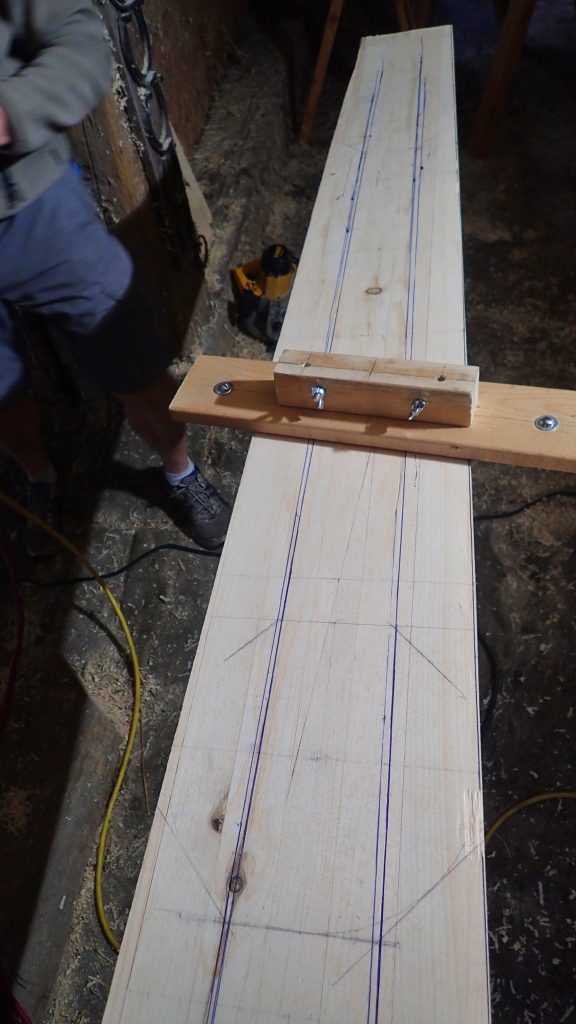
Marking the taper lines along the straight part of the mast is rather straight forward but can become a little trickier along the tapers. With the right tool, it’s a walk in the park.
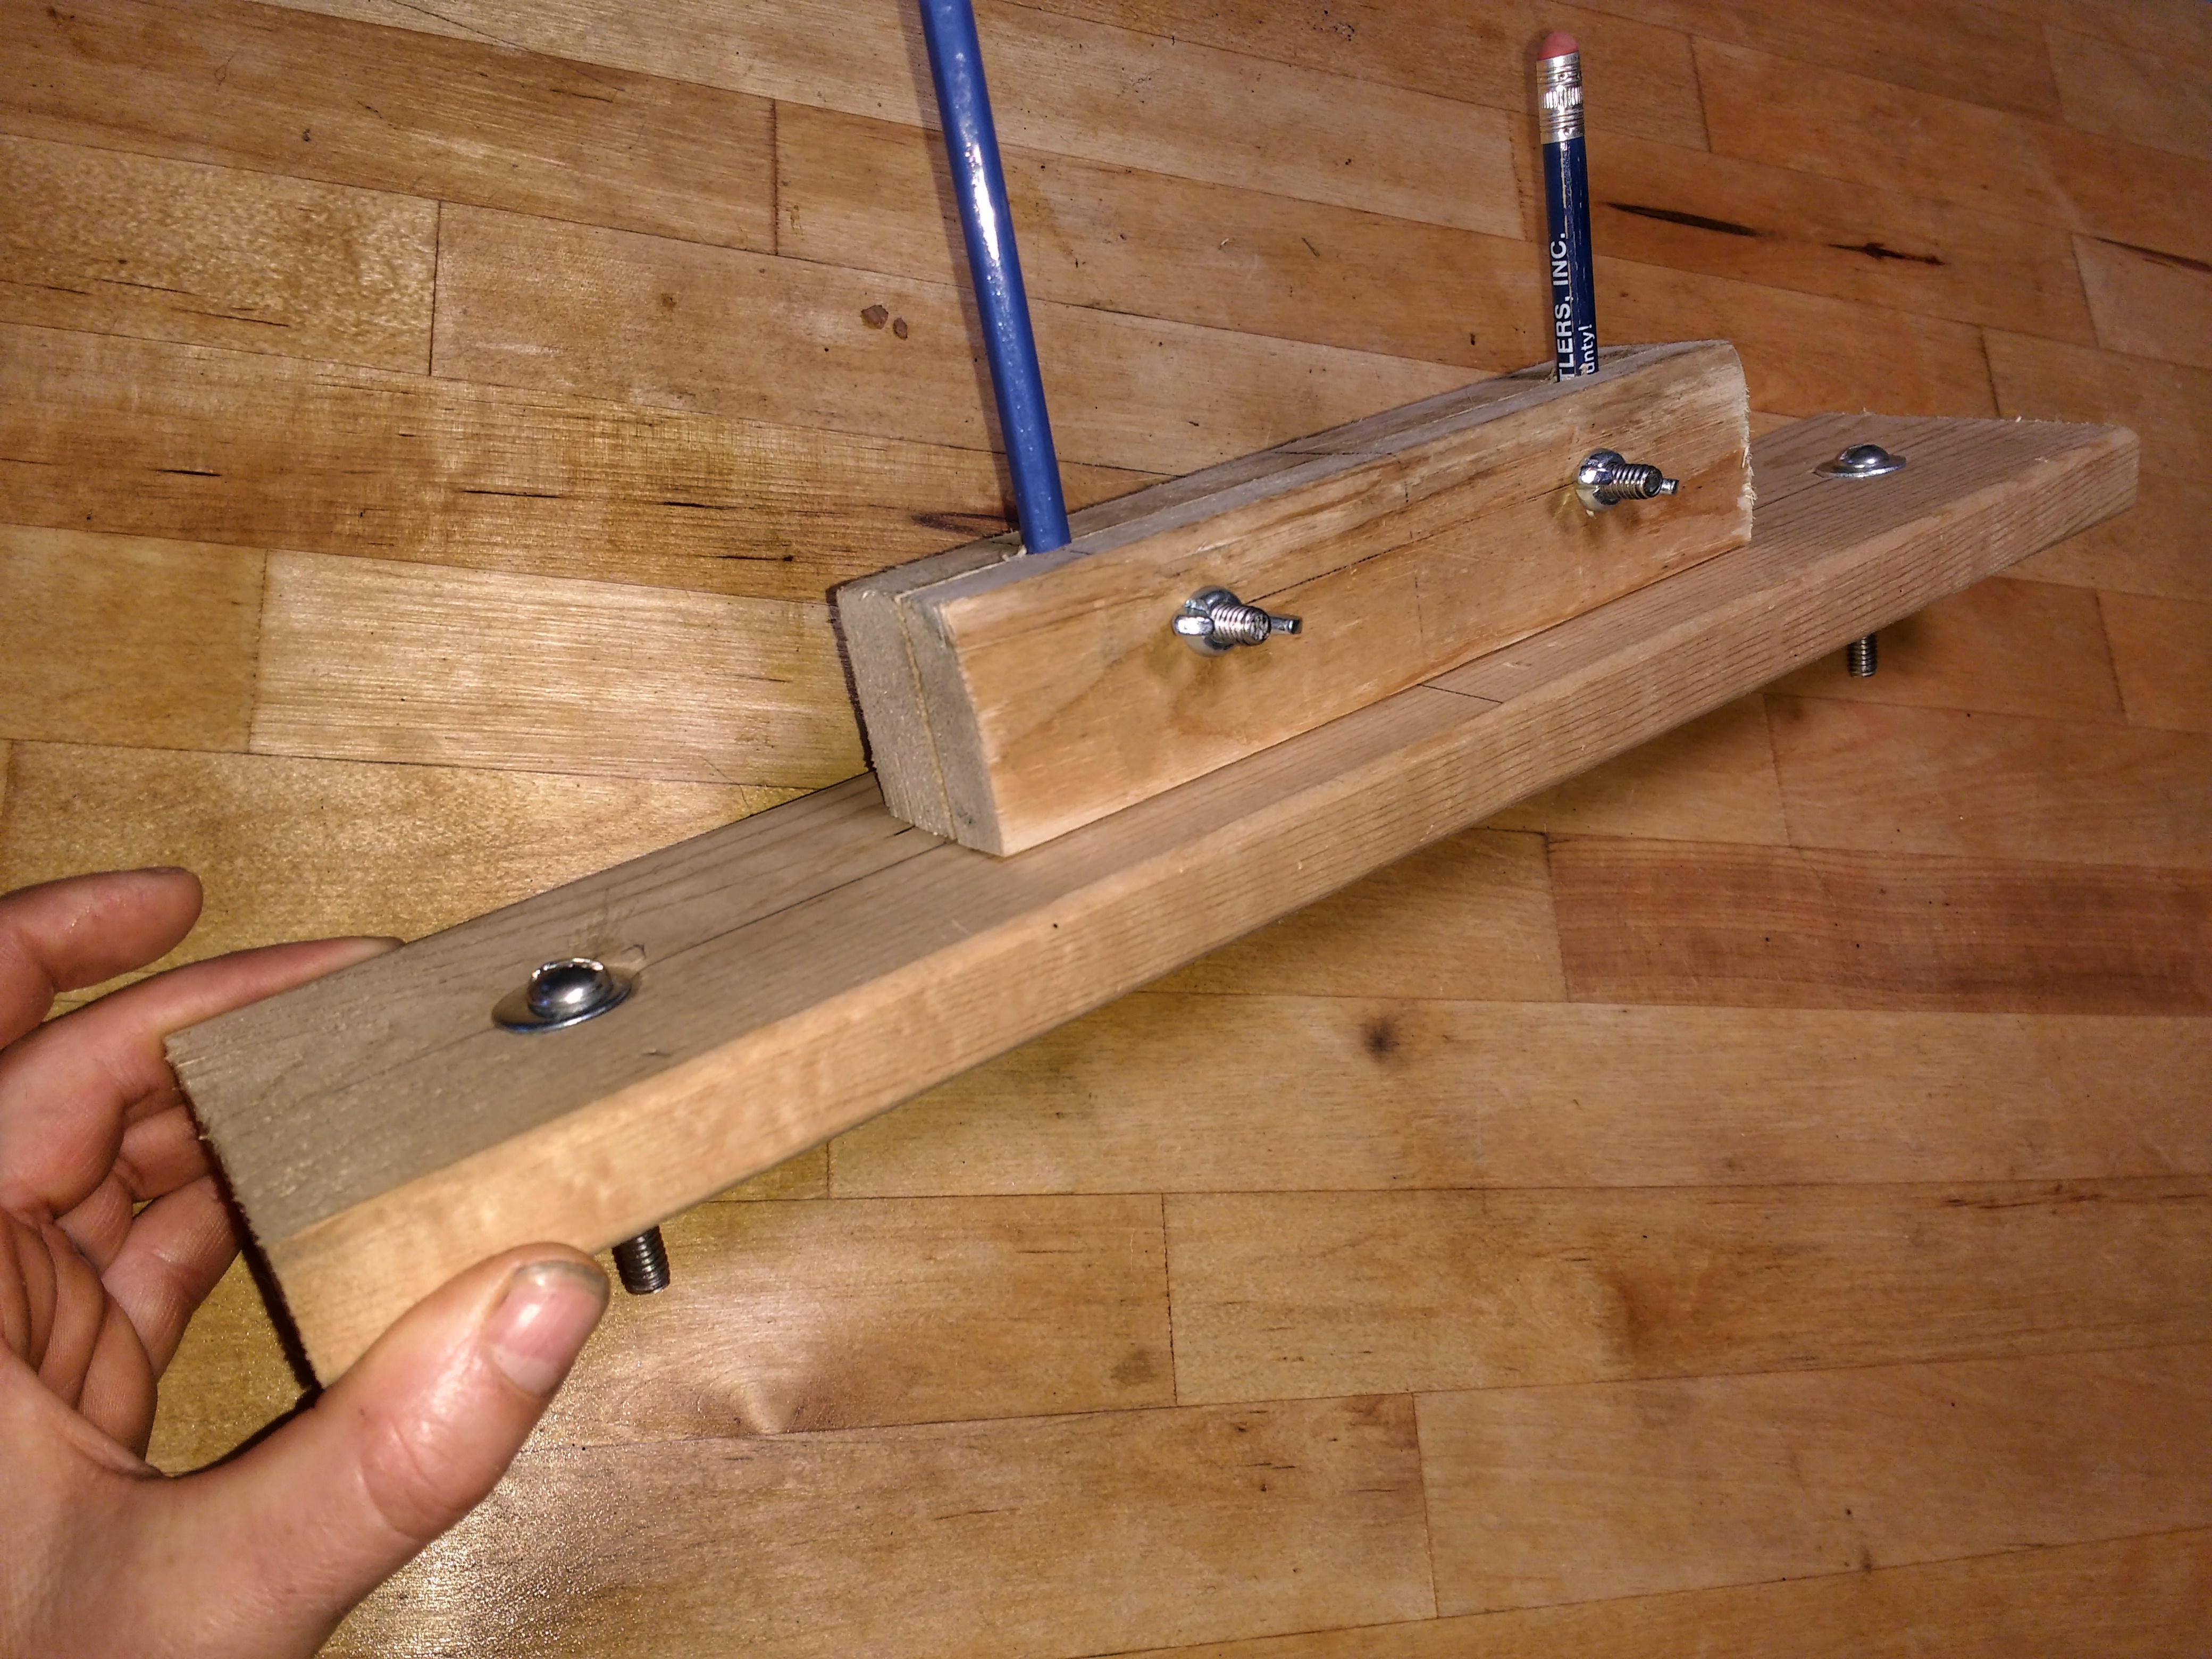
The spar gage – tool to mark the octagon corner lines
For more about this, check:
http://www.boat-building.org/learn-skills/index.php/en/wood/using-a-spar-gauge/