
To go directly to blog posts regarding the interior construction:
http://mimijane.ca/blog-posts-regarding-the-interior
Conceptual interior plans
The Mimi Jane will not be what one would consider a yacht, we traded luxury for more practicality, from our point of view and lifestyle.
Living on our previous 36 footer we didn’t really find we missed to much living space. We would of certainly welcomed a good size table and a couple guest bunks (or dog bunk) but other from that we were fine. What we really missed was storage space. We had no space to keep bikes, skis, snowshoes, skates….and even less for wind surfing gear. Our new boat is giving up a lot of interior space for a wide, spacious deck and it’s more traditional lines, making it a “small” 50 foot boat. There will not be a master bedroom, guest quarters and a gazillion of bathrooms.
I have found that some compromises that make complete sense on vessels used for vacation trips or weekend sailing put a little more pressure on the crews comfort when living on board. This boat will be our full time home and I have designed the interior in consideration of our preferences rather then more standard layouts.

There’s my initial boat plan sketched by hand, partly. The living accommodations will be between the two steel bulkheads, drawn in red. We are indeed limiting that area to the center half of the boat. Only that section will be finished in style, the rest will have more of a work boat finish.
By doing so I make our living quarters smaller but I limit them to being living quarters only, nothing more. The truth of it is that I really have a problem about sharing my bedroom with a diesel engine, I’m not a very big on keeping a set of sails in my dresser, I don’t like sleeping over a holding tank…. Really… would you store the lawn mower under your bed? Our homes have garages and sheds….well I wanted it on my boat too.
The aft section of the boat is meant to be the engine room and navigation section, we will also use the available space to store our junk…isn’t what we do with garages?
Here’s a few advantages I aiming for with this separation:
- Fumes and smells from the engine and its liquids shouldn’t contaminate the living area, making it more comfortable for the sensitive noses.
- The bilges of the two compartments being independent, any oily or greasy mess will be limited to the aft section.
- By not trying to build up accommodation around the engine I keep better access to it.
- During longer trips, having the navigation area completely apart from the resting area makes it for better sleep for the off quarter crew. I am hoping to have a bunk in the navigation area so it is possible for the person navigating to rest close to alarms without waking everybody up.
The bow will also be separated from the living area by a steel bulkhead, but will still connect with the main area with a water tight door. The bow will serve as an alternate entrance in wet weather, it will allow to enter without dragging water threw living accommodations. It will also be used to store anchors, chains, sails….Finally but not the least, the head (toilet ) will be in this compartment. Talking of the head, it will have this particularity that it will be mounted directly on top of the giant septic tank to allow flushing by gravity, without a pump.

Lt’s have a bit of fun …and why stop the fun there
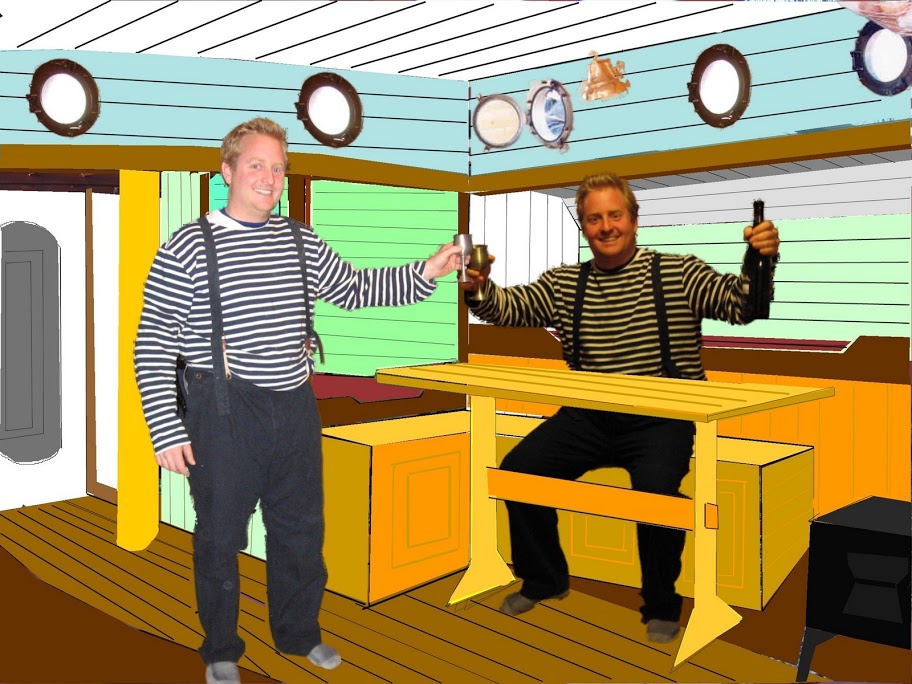
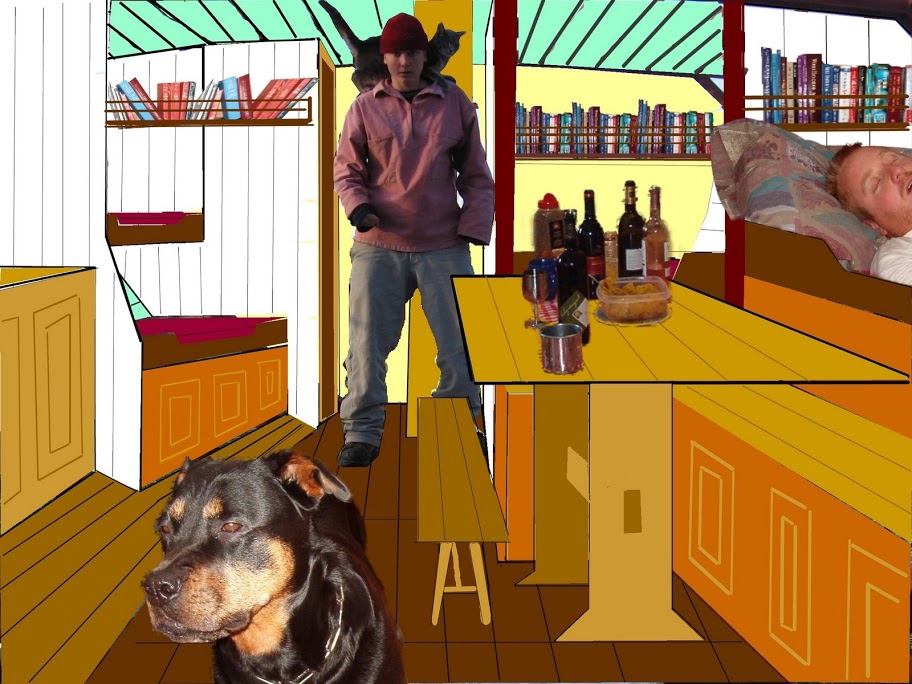
The living accommodations will be fairly basic, the layout simple. Aesthetically we are looking for warmth, I imagine a lot of wood and colors. We want a good size table for five or six people to be able to spend a good evening around a few bottles of wine. The bunks will not be set in separate rooms. Only the main bunk will be somewhat enclosed. The galley should offer good counter space and will be equipped with a full size sink. Finally we are keeping a special spot for a charming wood stove.
The divisions of the boats interior present a few more advantages other than the comfort and lifestyle ones. We are reducing the amount of finishing needed to make the boat a home. We can concentrate on the living accommodations, move on board and slowly take care of the rest. Each compartment is independent and can be worked on separately.
We are also reducing the cost of the interior finish, we can throw the big bucks were we want it to be pretty and be a little more conservative in the bow and aft. A simpler finish will also allow us a better access to the steel hull for easier maintenance in the wetter and harder working areas.
Detailing the interior- Making decisions

With conceptual design of the boats interior, we knew what we wanted the interior accommodations to include and we had a basic idea of a layout.
When comes time to build, a concept, an idea is not enough anymore; time to get to the drawing board… computer. Where to start?
We work around the elements with the most constraints. The hatch steps; only one place those can be; under the hatch. Make them fit, draw them in. We need a galley; which includes a refrigerated icebox, a sink, a cook-stove and some counter-space. Decide the size of the icebox, pick a stove and a sink, the placement options start to narrow down.
After much research on production icebox available we decided to build our own. There is a good series of photos of Mark’s work here: http://mimijane.ca/the-work-didnt-stop-while-i-was-away
There is not much monetary advantage in building a quality icebox compared to purchasing it (as we still had to buy the refrigeration unit, insulation, epoxy…) but we got exactly the shape box that fitted exactly where we deemed convenient with a maximum insulation and we are very satisfied with the result.
The sink was a bit of a toss; go big or go small? Intuitively one would think, get a small sink on a boat; but you don’t do less dishes or use smaller pans because you live on a boat… and, if you are going to only have one sink, does it make sense to under-size it? The main inconvenient of a bigger sink, is needing more water but that can be solved by using a basin in the sink when needing lesser bin. The loss of counter space can be compensated by having a board to place over the sink and sincerely, a good size, deep sink, on its own is very useful space on a boat as it becomes a safe place to leave a full pot of soup, ingredients waiting to be used, or simply dishes waiting to get washed… things don’t drop out of a sink. We decided on a big deep sink…
Options for the placement of the stove were restrained by the lack of height under the decks, we did not feel comfortable with the clearance it would have left over the stove had we placed it under the side decks.
We purchased a Dickenson two burner propane stove as Dickenson is the one we can get at our favorite marine goods distributor and two burners because I dont recall the last time I used three.
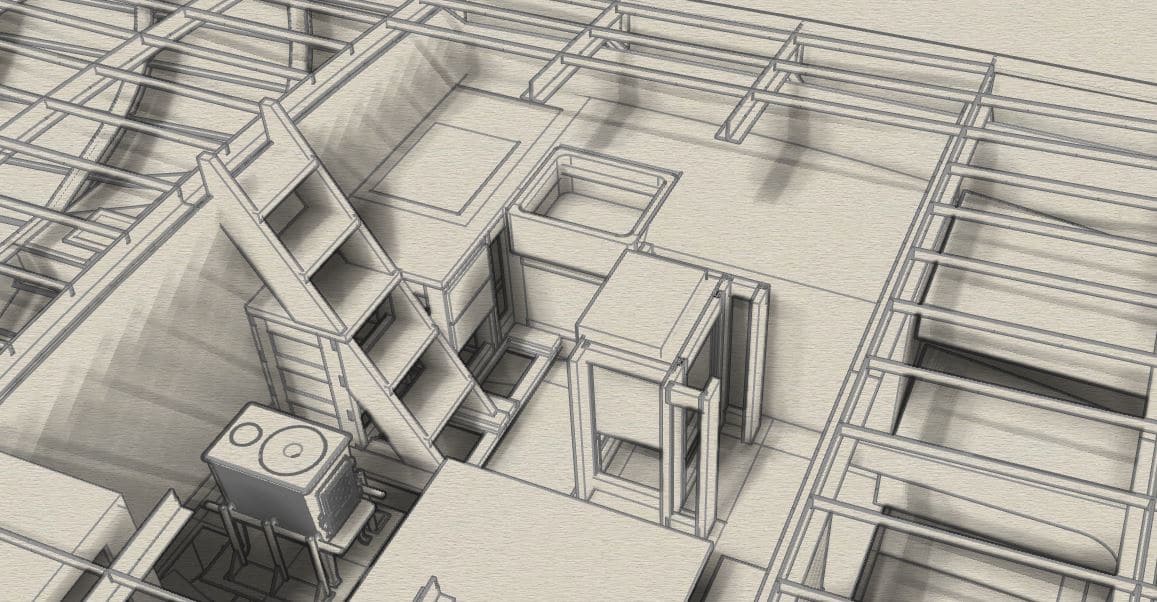
In the drawings, I place the known elements first and build from there. Everything gets detailed so when I get to the shop or pick my wood, there is no guessing, I follow my plans.
In a way, I’m a little lazy; I like to work without thinking too much. I totally enjoy a day in the shop woodworking as if I was following IKEA instructions (I actually can follow those 😛 ). The one way to get that is to draw detailed plans… so I do; cutting lists, clear dimensions (double checked on the boat) an assembly drawings. Little OCD? I like to think its efficient laziness.

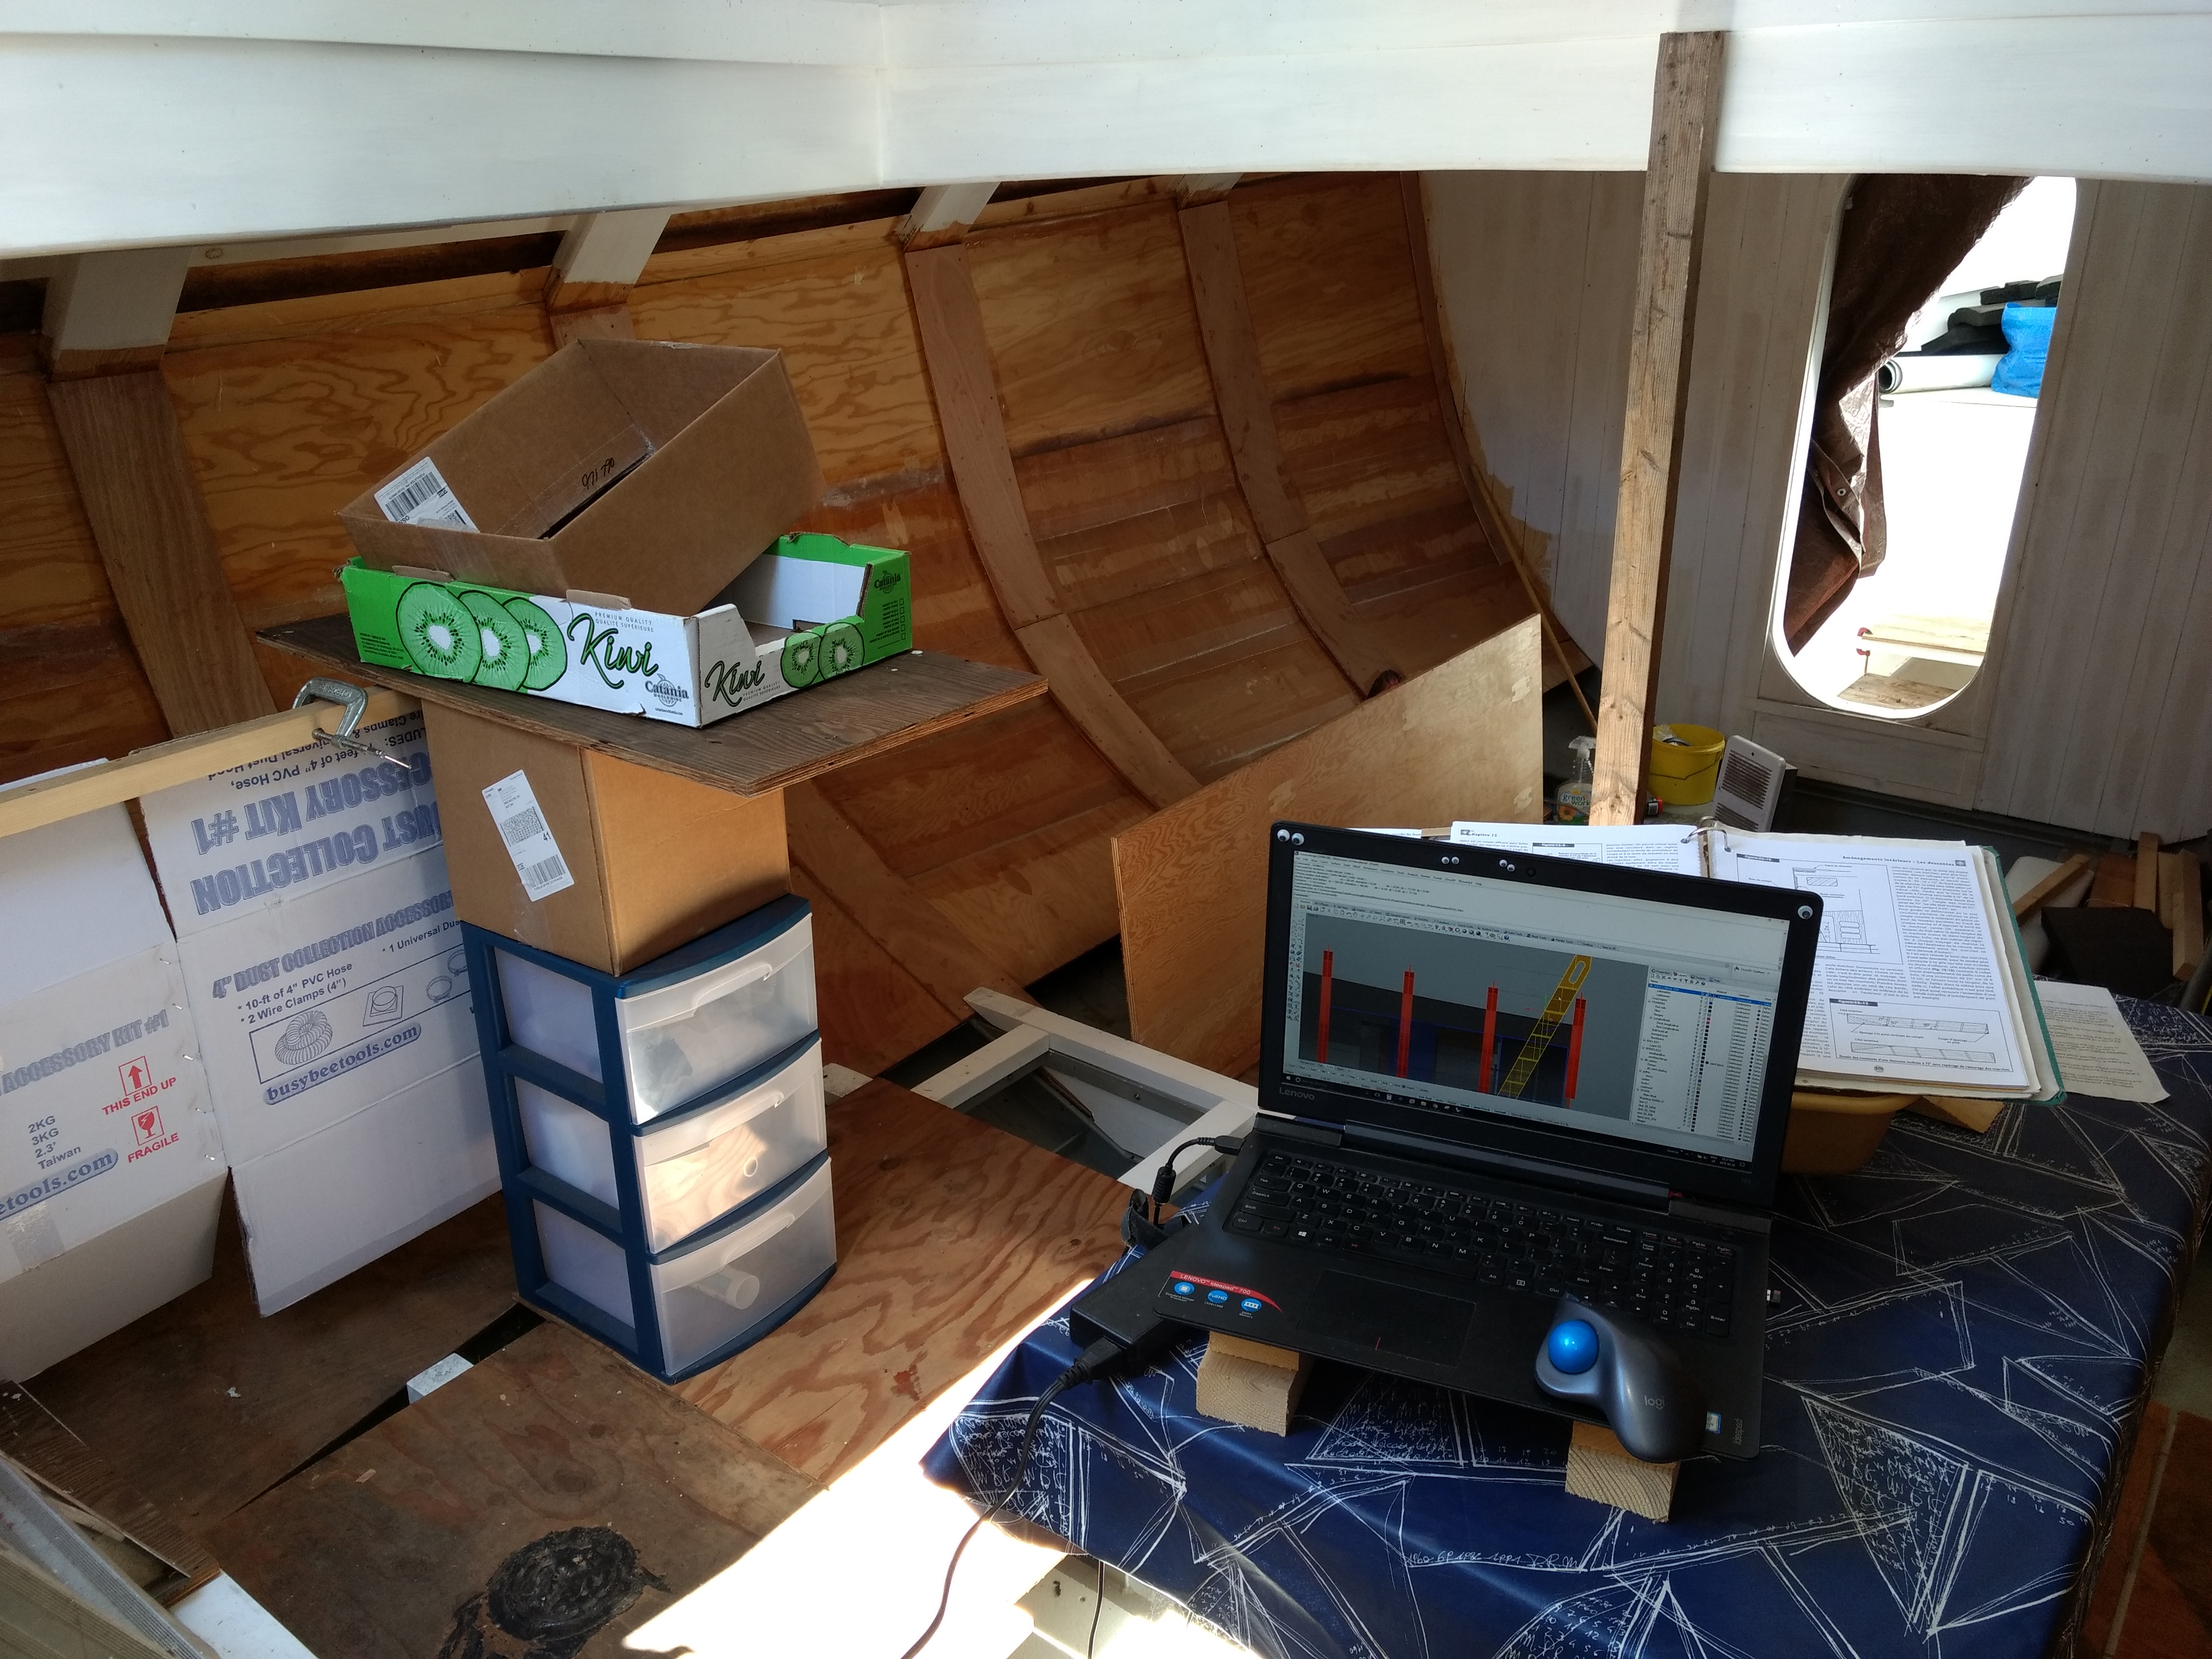
I like working in the boat on the computer modeling. From the practical side of things, I am in the space I am designing and I can get a real life feel of sizes and clearances as I go. While the 3d modeling is great there is still value in good old cardboard mocks.
Second best reason to set my interior design office in the boat: I simply enjoy being in there.
