To go directly to blog posts regarding sandblasting :
Blog category sandblasting and painting
Pre-assembly sandblasting
Phase 1 – Sandblasting all the framing components
Sand blasting…our on going nightmare. The construction work pretty much started by sandblasting and will end with sandblasting. This is most of the first steel delivery and the CNC (computer numerical control) cut parts ready to get cleaned.

All the inside surfaces of the boat are being sandblasted to white metal and shop primed before getting assembled. When all the boats steel work will be completed the interior structures will be blasted again to get rid of the shop primer and painted with it’s final coating. I don’t think this is a common practice as it sounds totally inefficient but it has a few benefits.
The decision to do it this way came from our previous experience with our first steel boat, we found out that sand blasting inside a boat was the most awful job in boat building. You want it to happen as fast , as easily, and with the least sand usage as possible. The first purpose of sandblasting is to get rid of the mil scale on the steel (which causes electrolytic corrosion). Mil scale is hard and takes a lot of time and sand to get rid of. When blasting inside the hull one quickly looses visibility from the dust and it gets difficult to know if all of the mil scale is off or not. If all the mil scale has been previously removed, our final blasting will only be a fast sweep inside the boat to clean off the primer and a bit of surface rust. We’ll end up with a lot less sand to get out of the boat and we will take much less time to have the surface ready to paint. As the job will be done faster, the white steel will also be unprotected for less time and we will have more chances to get it cleaned and coated within a day, which is good practice for a steel hulls good long term protection.
I have heard the comment as for the construction period the mill scale will protect the steel. That is not a given as it is only true where there is no standing water. Where water might puddle it will work against us by creating a cell, the steel will most likely pit instead of getting healthy surface rust. Over a couple summers we found no problem with the outside of our hull as water just ran along it. There the scale does indeed provide some protection. Otherwise, we had a lot of steel and as we couldn’t stand it all on it’s side our some plate were laid down on pallets. Were water got to sit, pitting has started happening within a season, all our left over steel is now rested vertically against the shed to avoid more pitting.
Sandblasting – Phase two
More sandblasting fun! As I mentioned previously we are sandblasting all the inside surfaces prior to assembling with the hope that it will make the final blast faster and make for a better prepared surface. An other reason to proceed this way is that a lot of the plating area is hidden behind the longitudinal frames and ribs, and will not get blasted when the boat is all built. Those areas also won’t be as well protected by paint as they are somewhat unreachable. By pre-blasting the plate we guaranty the steel is clean of the mil scale, reducing risk of electrolytic corrosion.
Sandblasting has been an issue we started thinking about early before starting building the boat. It represents a lot of work and requires big equipment (bigger the compressor, the better), we were concsient it could well be our main logistic nitghmare. We tossed many ideas: buying gear, renting it, bringing a contractor in….all had there pros and cons but non satisfied us until we found our awsnser no further than down our road. We were walking the dog when a familiar white noise cought our attention. Sandblasting, we were hearing serious sandblasting coming from behind “Terry’s restauration shop”.
We have come to some very convinient and flexible agreement with Terry and do all our blasting with his equipment.
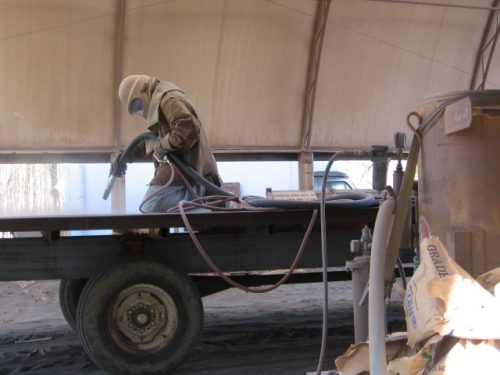
The hull required 27 steel sheets 5×10 ft and 25 sheets 4×8 ft, that represent a lot of surface. Blasting it all at once would of made it a nitghmare, so we decided to go by bareable loads. Terry offered we get our plates delivered to his yard to limit the transport of steel up and down the road and our friendly farmer neighbour offered his wagon for the few times we would need it. These sorts of helpfull offers have made our project come along much smoother.
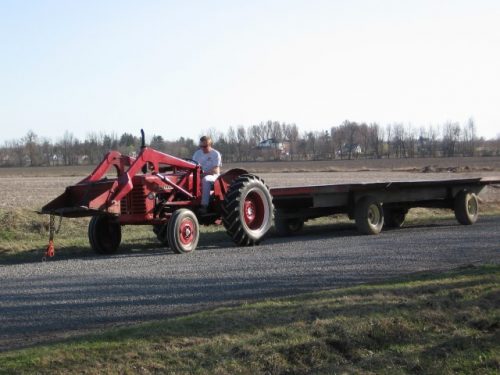
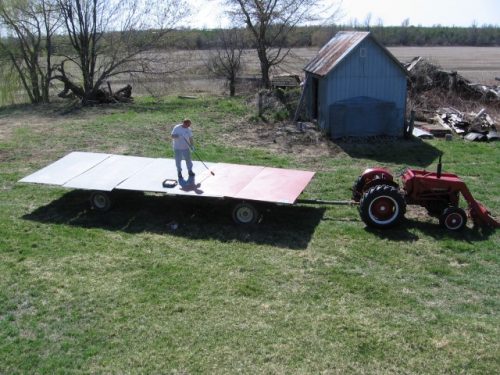
On the evening before a sandblasting day I would bring the wagon down the road, lay as many plates as possible without overlapping and roll it all under the sandblasting cover-all for the next morning. I’d always sandblast at sunrise to take advantage of the coolest part of the day, by ten in the morning it would become to hot and suffocating in the hood. By getting up at 4am I would be done painting before noon and back to bed after lunch. Heat is the worst enemy of boat building in the summer, just like cold is the worst enemy in the winter.
Interior Sandblasting
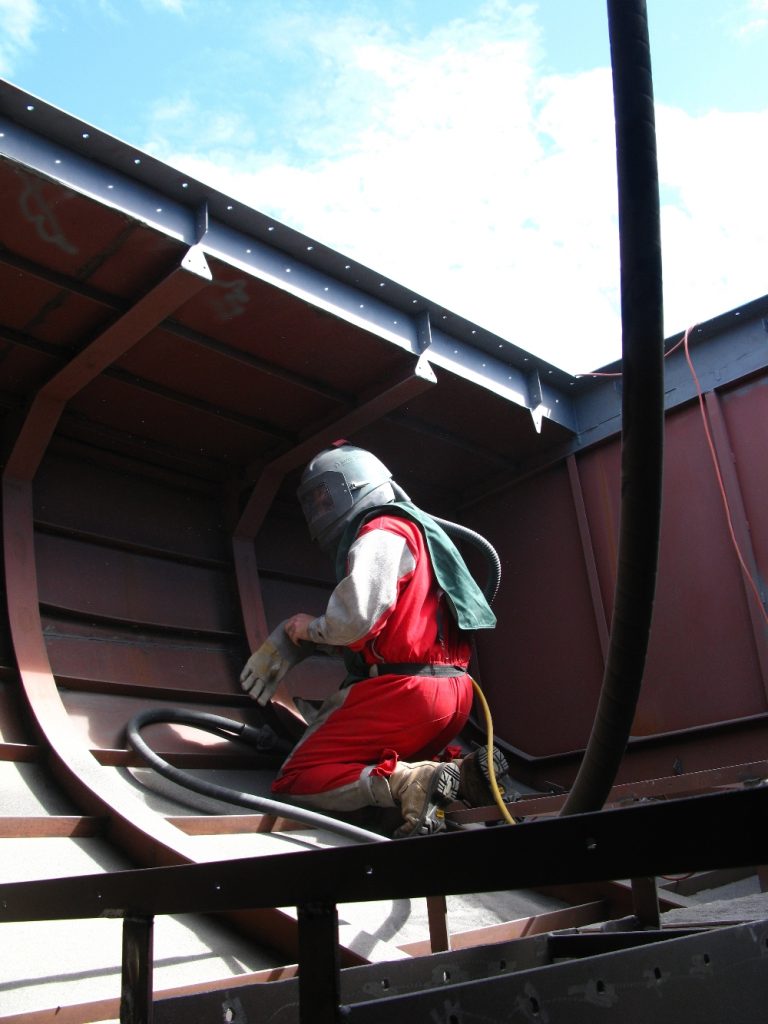
Not one compartment of the boat was sandblasted in one go. It is important to get the white steel coated as soon as possible and also important to have it coated before the dew falls on it. Considering the time to sandblast, time to clean up and finally time to paint, that leaves only time for a limited surface to be finished each time.
When we start, there is no time to rest, its a hell ride and you are off only when it is done and all is cleaned up. Mark and I have worked up to 20 hours straight on a sandblasting chore. That was on our previous boat, we were young, crazy and much tougher back then; we now try to plan a little smarter.
Here’s the order of steps we sandblasted the inside of boat:
- Holding tank and surrounding
- Water Tank and surrounding (Potable water specfic paint)
- Front compartment
- Under deck Main compartment
- Topsides Main compartment
- Bilges Main compartment
- Fuel Tanks and surroundings (Diesel specific paint)
- Under deck aft compartment
- Rest of the aft compartment

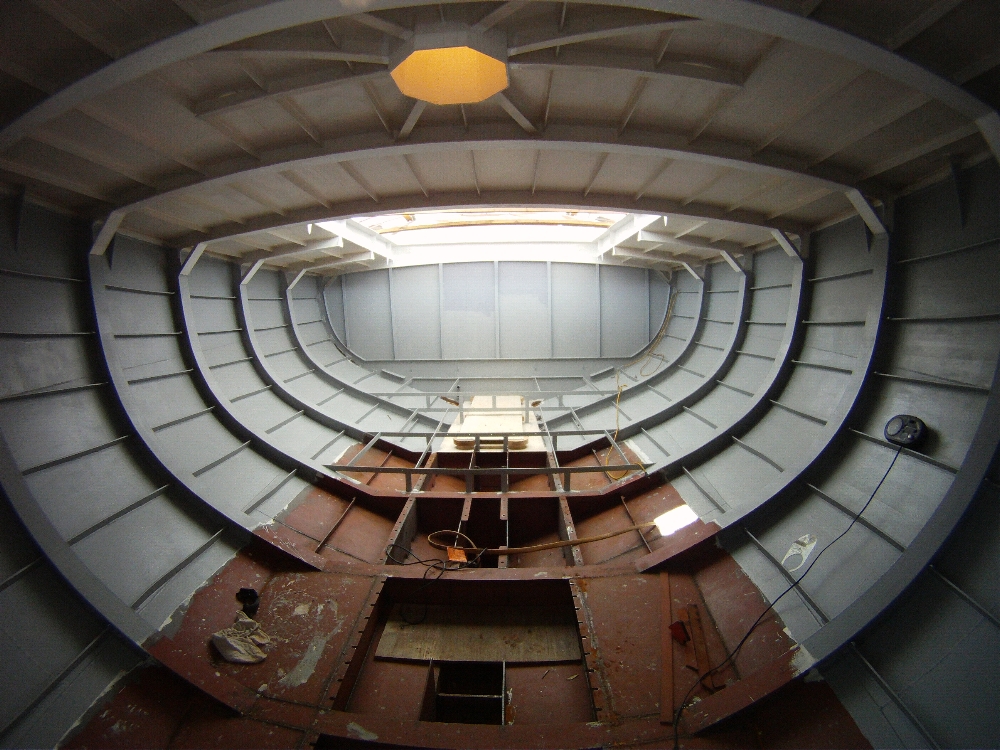
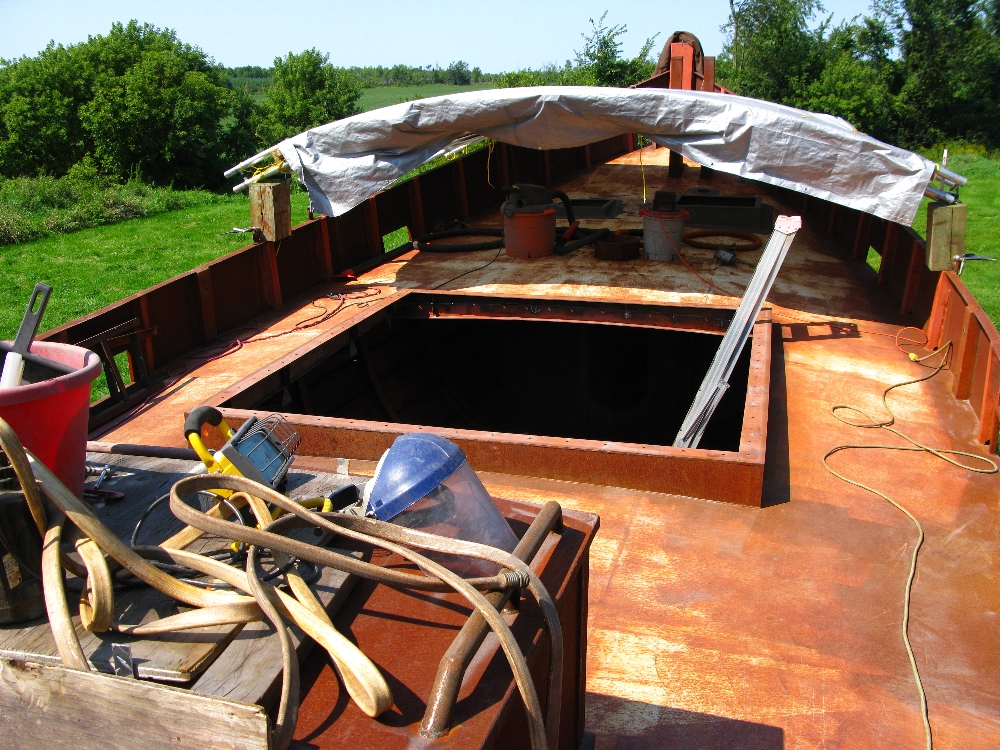
We kept the cabin top off to sandblast the interior of the boat 
It’ already claustrophobic enough in the suit, having the cabin top off was a nice bonus 
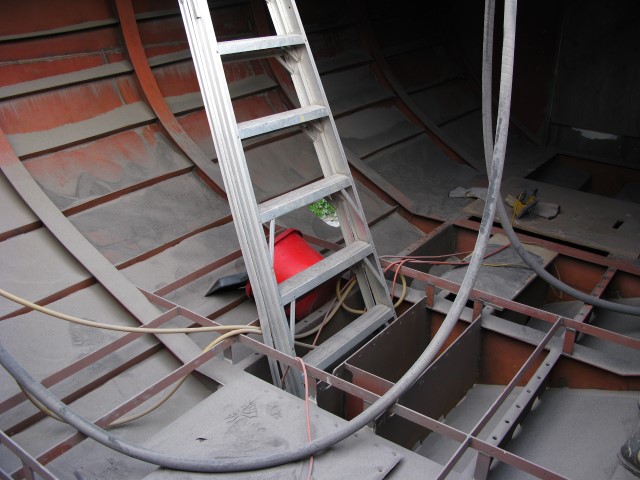
Sand everywhere 
Its a lot of cleaning before we can paint 
First coat going on white steel 
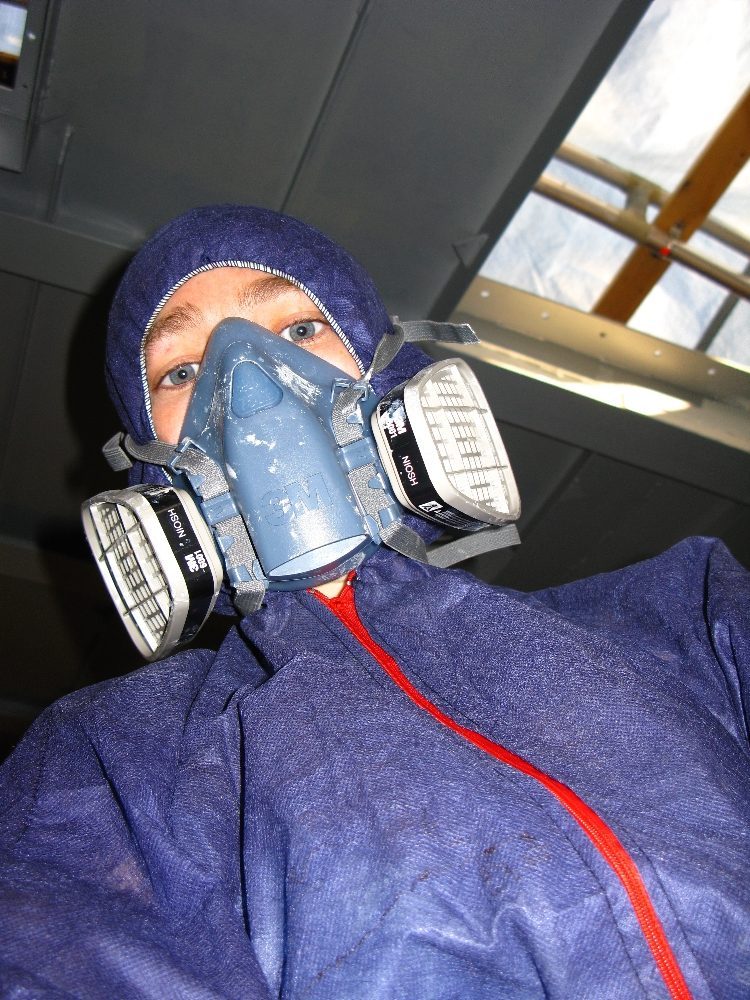
Epoxy paint is nasty! I don’t think my brain cells could survive the fumes without good protection 
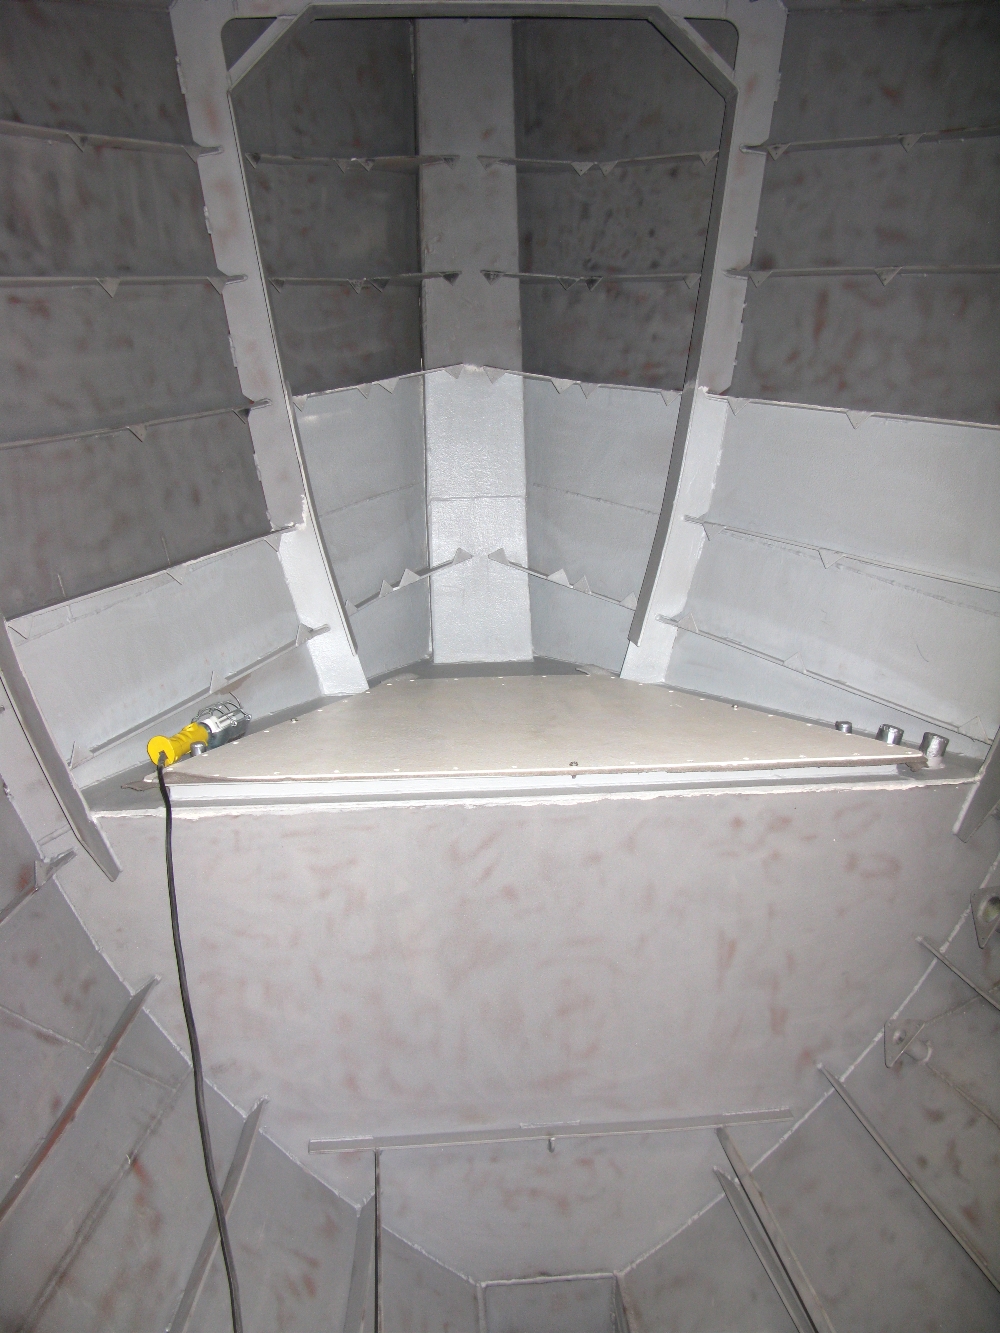
Looking clean after a coat of paint 
A coat of whit following a coat of grey 
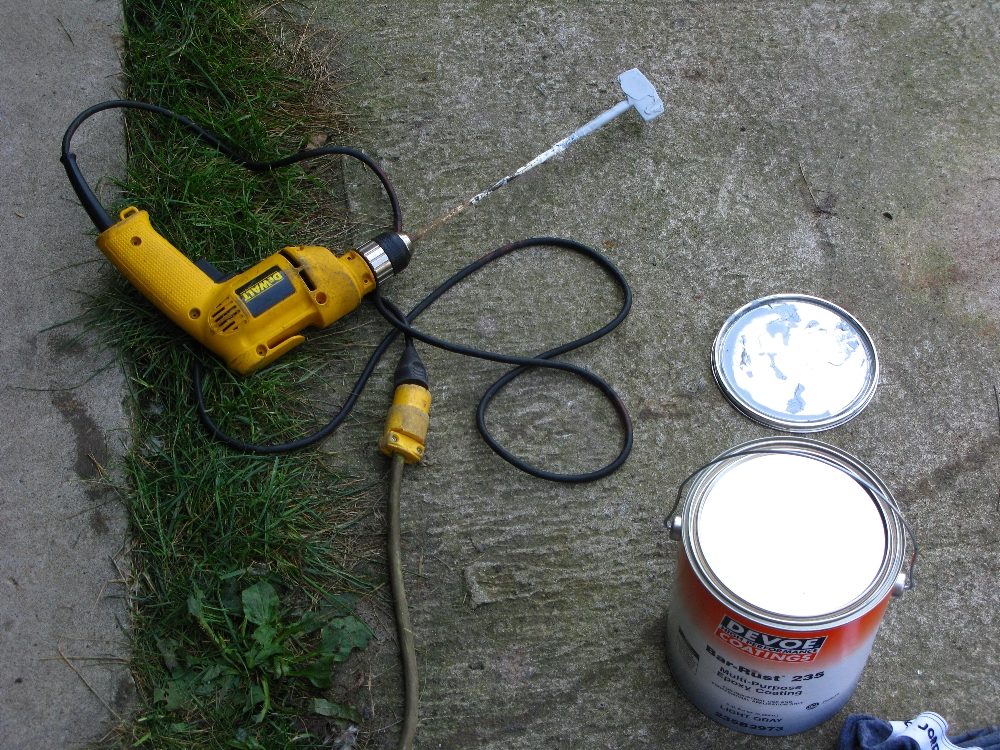
Two part epoxy paint needs to be well mixed 
Every coat of paint we go through loads of consumable. When epoxy paint sets, its sets everywhere, including in the brushes and roller. We usually need to change brushes, rollers and gloves every half hour. We also plan multiple trays and mixers.
